Upgrading the Node OVA (Online)
This section provides instructions to upgrade the Node OVA to the latest version using the online method. This is used when a LiveNX Node has online access to download the upgrade package.
1. Log into the LiveNX Web Client. In the top right corner of the LiveNX page, Click on .
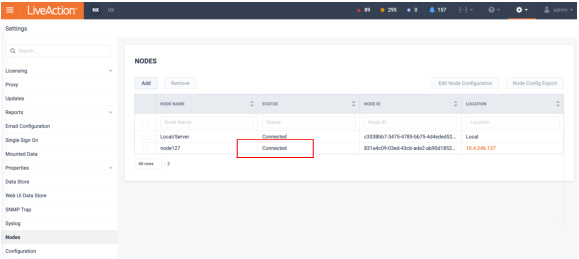
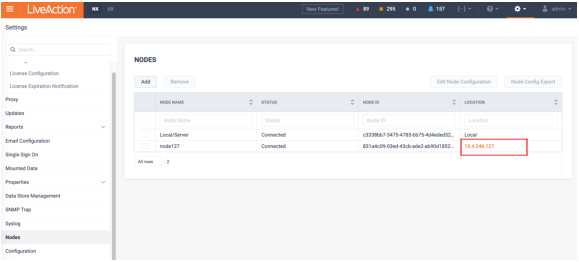
2. Select the tab, then click the IP Address of the LiveNX Node under the column to launch the Node Web UI.
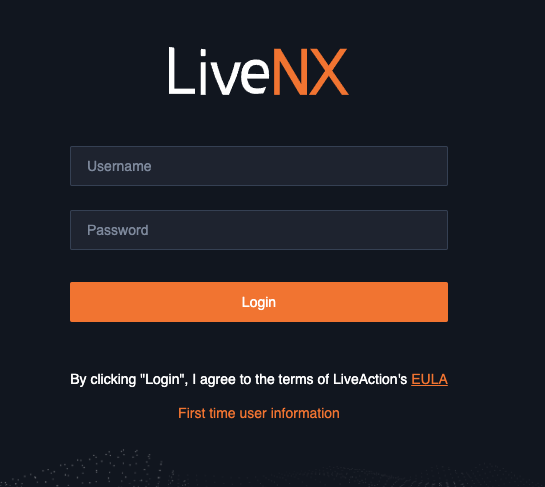
3. Log into the Node WebUI with the username and password .
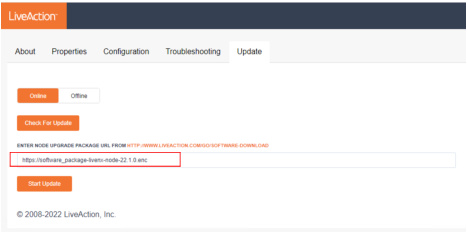
4. Click the tab then select the option. Place the node’s upgrade image’s URL into the empty field then click . See LiveAction Downloads Page for instructions on how to copy the URL from the Downloads page.
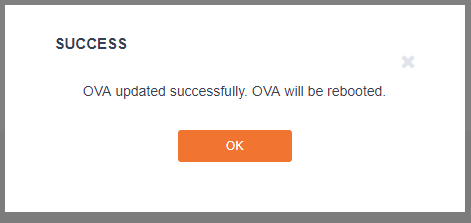
NOTE: A status bar will indicate . Once completed, the web client will automatically log out. If observed in a vCenter Console, the Node OVA will reboot automatically. The LiveNX Web login page will reload automatically after approximately 120 seconds.
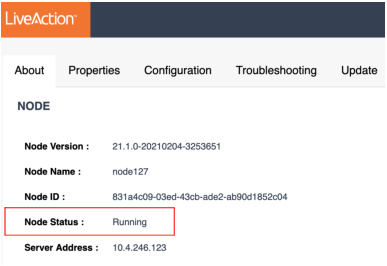
5. Verify that the LiveNX Node Status is “Running”.
6. In the LiveNX Server, verify that the LiveNX Node Status is Connected.